DIY Drill Charging Station and Sandpaper Organizer
This drill charging station with sandpaper storage is an easy project that brings some much needed organization to your shop. This project can easily be completed in one day and includes an integrated french cleat system thats simple and strong. I used pocket holes for this project but dados could be used instead with some slight adjustments to the cut list measurements.
Before we get started please click here to subscribe to my YouTube channel for more projects.
CLICK HERE to Download the PDF Plans with Full Cut List
Tools Used during this build (affiliate):
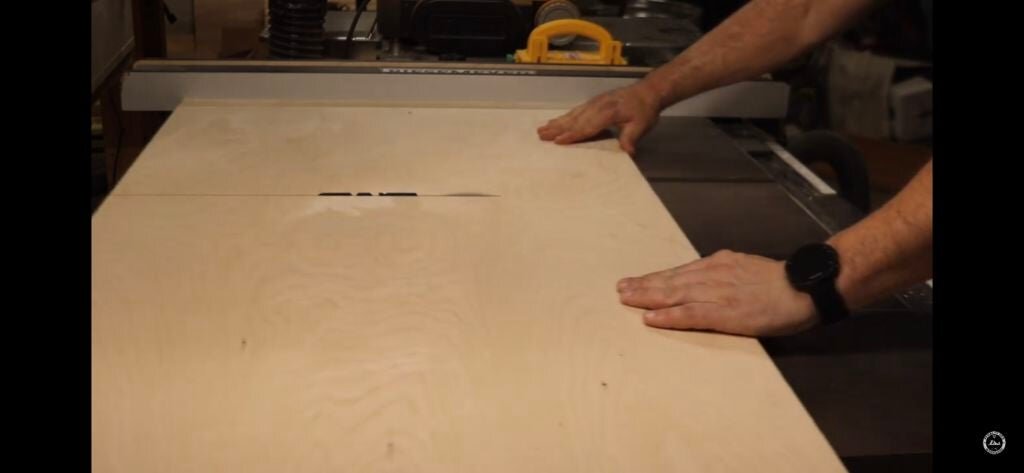
Cut the Pieces From the Cut-list to Size

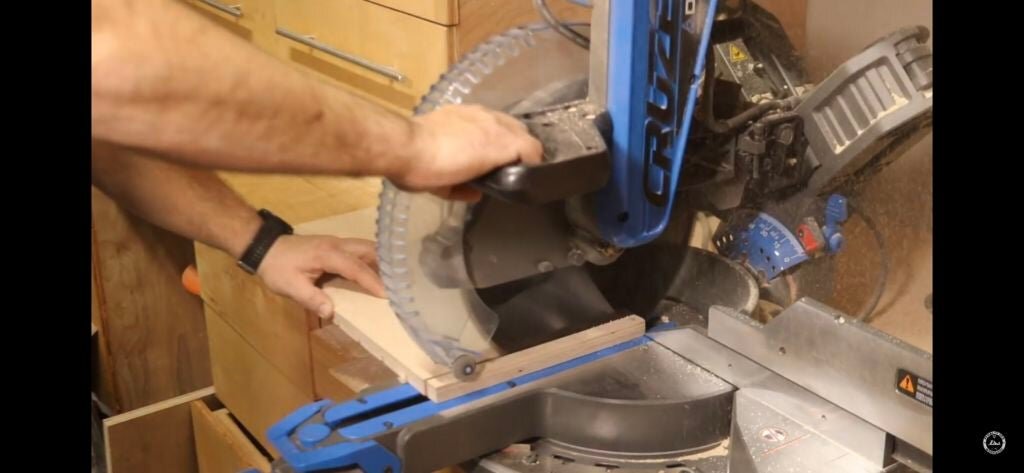
For this project I’m using 3/4 inch Baltic birch. I rough cut the ply into manageable sizes with my circular saw and miter saw then I cut the pieces to final dimension on my table saw. I think this process allows for safer and more accurate cuts on the table saw.

There are 8 pieces needed for this project from 3/4 inch plywood. For the dimensions of these 8 pieces and a full cut list on this project check out the description section below. You will end up with one large piece for the back, two side pieces, a top and bottom piece, two shelves, and one divider.

Cut the French Cleat Backer

After those are cut, set your table saw to cut a 45 degree angle. The large section for the back will be cut in half and this will act as a backer and a French cleat to hang the station once it’s complete.
Cut the Dados for the Adjustable Shelving

If you have a Dado stack go ahead and set it up in your table saw to cut dados the width of 1/4 inch plywood. If you don’t have a Dado stack you can easily make these dados with your regular blade and a series of cuts or with a router and a 1/4 inch straight bit.

Raise the blade to a 1/4 inch and set your table saw fence at 2 inches. The dados will be cut on one of the side pieces and on the divider. Select and mark one end on each piece as the bottom. With the end designated as the bottom against the fence cut a Dado on each piece. Then move the table saw fence to 4 inch and again cut the dados on each piece ensuring that the bottom end is against the fence with each cut. Cut a Dado every 2 inches until you reach 16 inches. There should be a total of 8 dados on each piece.
In order for the dados to align correctly after assembly you will need to cut 3/4 inch off the bottom end of the divider piece. This only needs to be done to the divider piece and not the side piece.
Cut the Sections for Drill Storage

Next, you can start laying out the cuts for the drill storage on one of the shelf pieces.

If you use the cut-list in the PDF then you will have 8 lines and 4 sections. Then, mark a line for the depth the full length of the piece and designate every other section with an “X.” These are the sections that will need to be cut out.

Using a 2 inch forstner bit drill a hole at the top of each section.

Using a jig saw cut along the lines to the circles to remove the rest of the material.

Using a router and a Chamfer bit, make a deep chamfer on the inside edges of the sections. This will help your drills and other tools hang more evenly in place. A spindle sander makes it easy to clean up the inside edges but this can also be done with some sand paper and hand sanding.
Pocket Hole Joinery

Now set your end pieces and two back pieces aside. All of the other pieces will get pocket holes on each end of the piece. I found that three equally spaced per side were plenty.
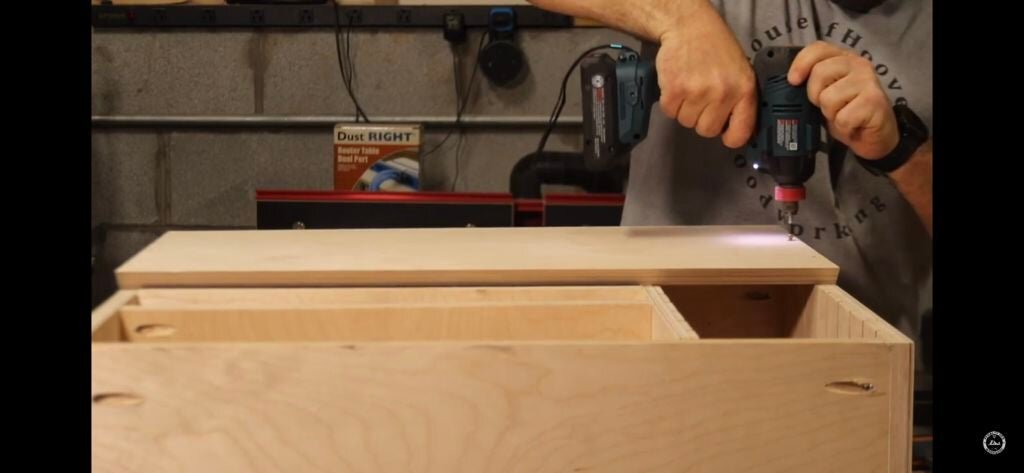
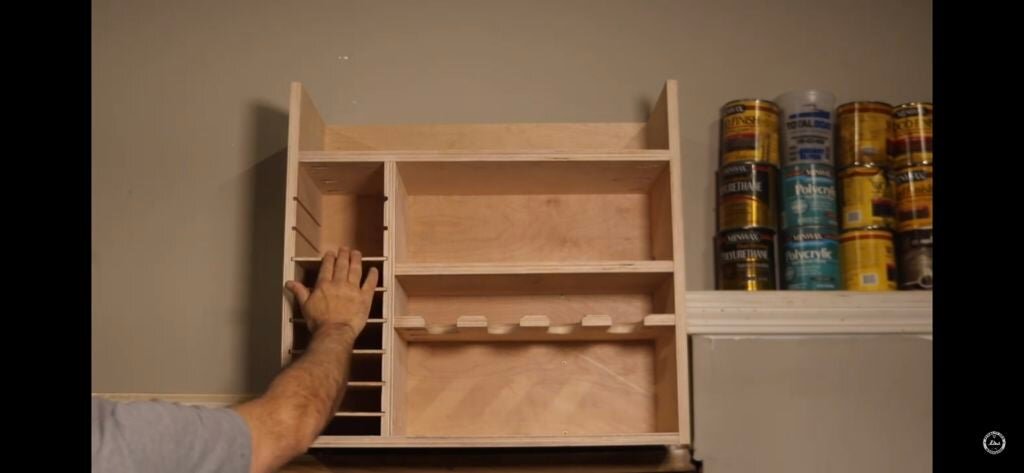
Assemble the Pieces

Place your two side pieces together and mark a line according to the cut-list, from the bottom of both pieces. Now attach your bottom flush with the bottom of the two side and the top with the bottom of the piece at the mark. Make sure that the box is square and then mark a line on the top and bottom pieces (at the designated measurement from the cut-list) from the outside edge. This will be from the side with the dados. You can now install the divider with the inside edge at the mark. Make sure to install it with the previously marked bottom end pointing towards the bottom of the box.

Once that’s installed measure and mark lines (measurements in cut-list) from the bottom edge of the box. These lines will be marked on the right side of the box and on the divider. With the chamfers pointed towards the top, install the shelf with the cut slots. Align the bottom of this shelf at the mark and attach with pocket hole screws.

After that, install the top shelf with bottom of the shelf at the designated mark. If you place the shelf so that the pocket holes are on the top side it will give you plenty of room for your drill.
Lay the drill station on its face and install the top half of the back with the 45 degree angle in the correct position.

Drill a Hole for Plugs
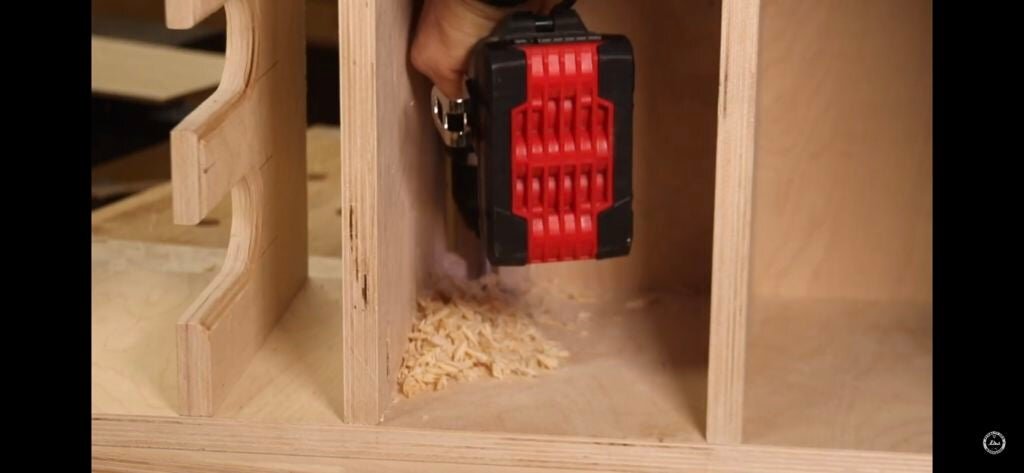
With a forstner bit, drill a hole big enough for the plug of your chargers to fit through, in the side of the drill station. This can be placed wherever on the station that you plan to place your chargers.
Hanging the Drill Charging Station
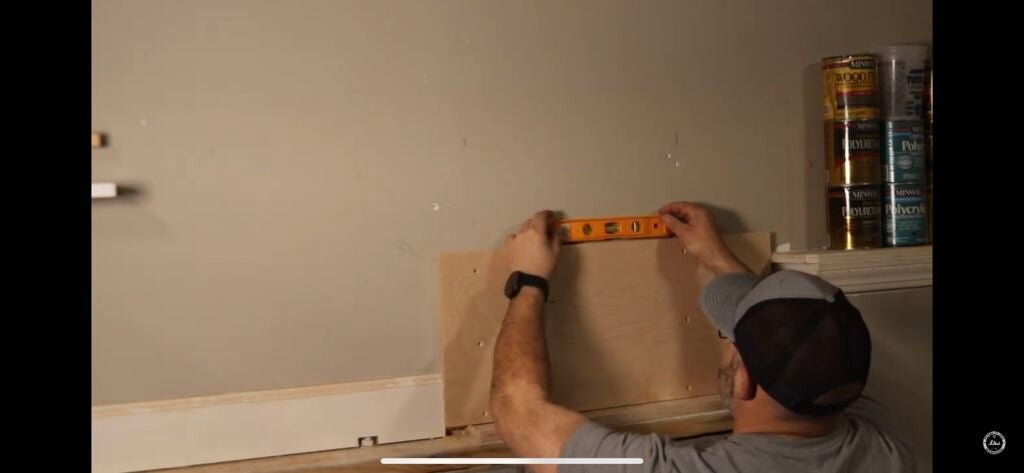
Attach the other half of the back to the wall attaching it with screws in to the studs of the wall. Be sure that this piece is level and that the 45 degree cut is pointed up and in correct position to accept the other other half of the backer that is attached to the drill station.

I wanted mine to hang just above this ledge so I just used a scrap piece of plywood as a spacer and made things easy.

Now you can hang your charging station in place securing it with the French cleat backer.
Add 1/4 Inch Shelves
Cut the dividers for the sandpaper storage from 1/4 inch plywood and slide them into place.

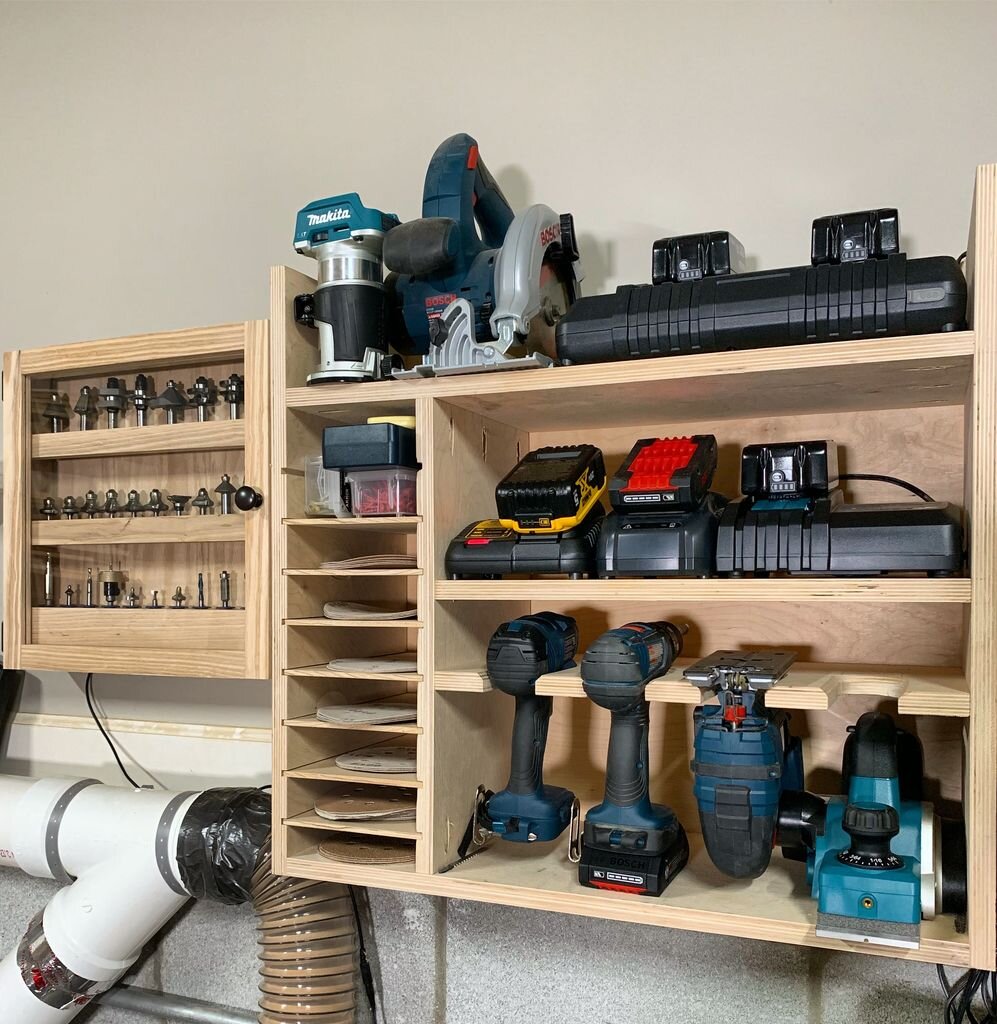
Fill It Up!!

Now for the part you’ve been waiting for. Simple yet effective storage for your tools and sandpaper!